


8100 Disassembly photos and instructions - Updated
2 posters
Page 1 of 1

 8100 Disassembly photos and instructions - Updated
![]() by linekbp Tue Jul 29, 2008 3:08 pm
by linekbp Tue Jul 29, 2008 3:08 pm
NOTE: You will void your warranty doing this.
NOTE: WEAR LATEX GLOVES IF YOU DONT WANT TO MUCK UP YOUR BEAUTIFUL SCREEN!
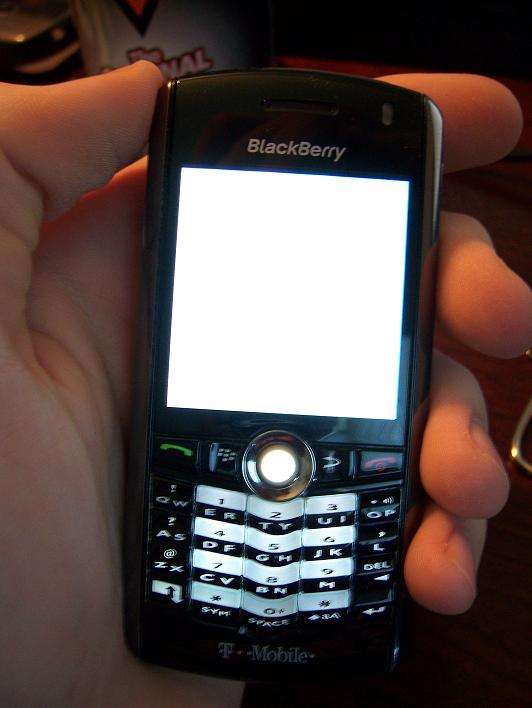
[Step 1]
Gaze adoringly at your Pearl.
[Step 2]
Remove the back cover
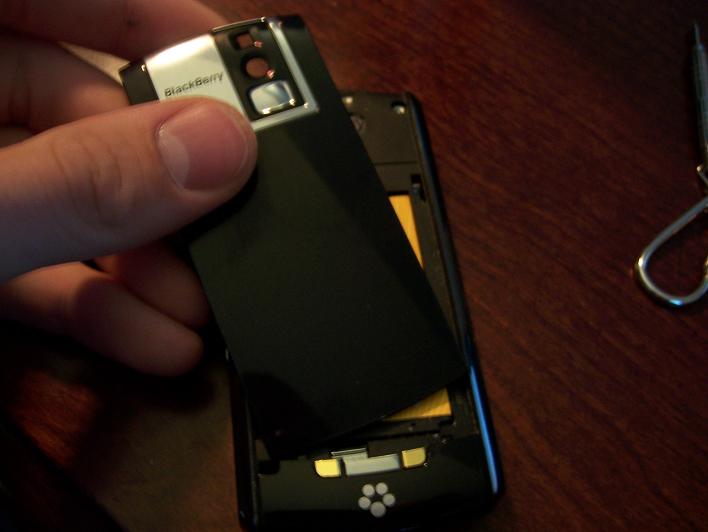
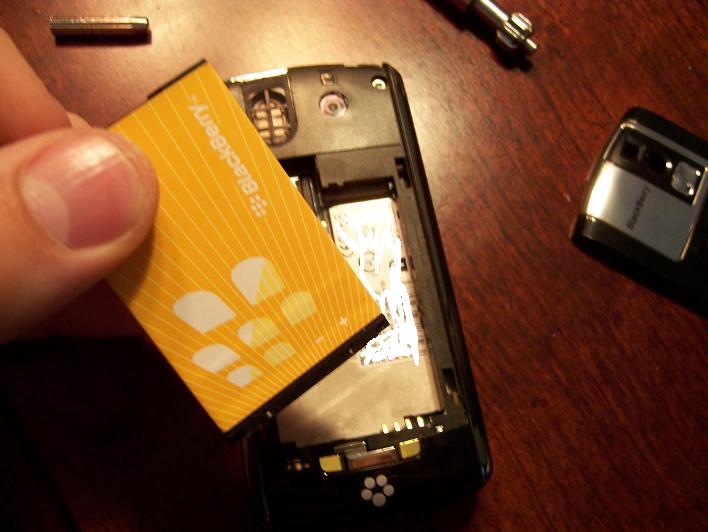
[Step 3]
Remove the battery
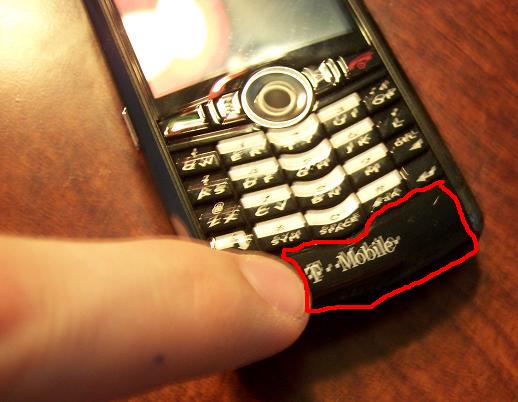
[Step 4]
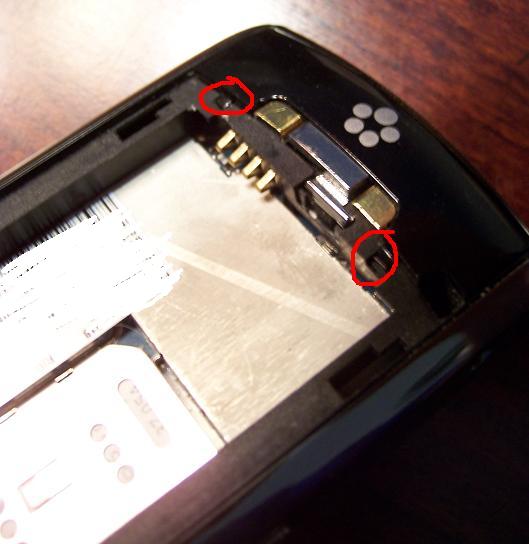
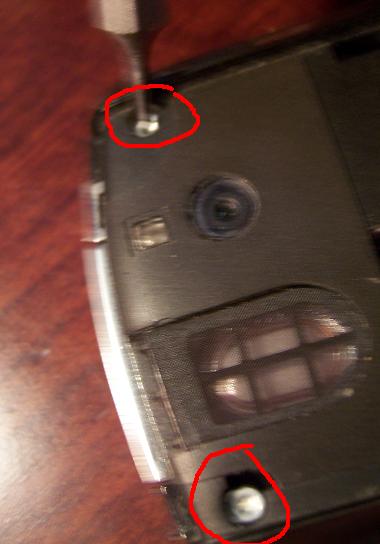
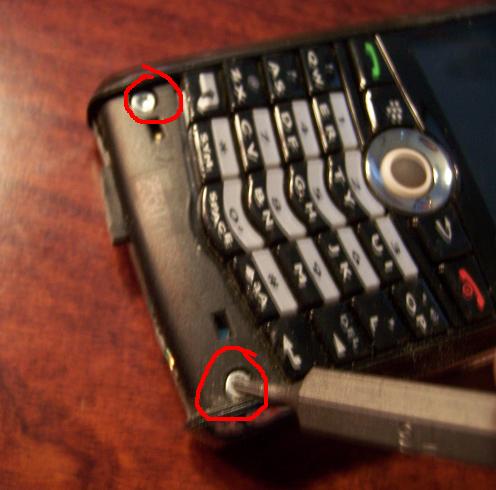
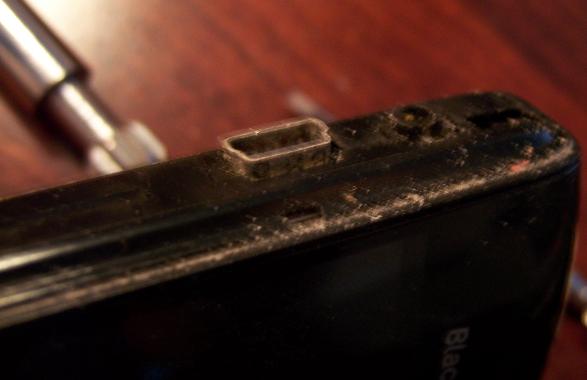
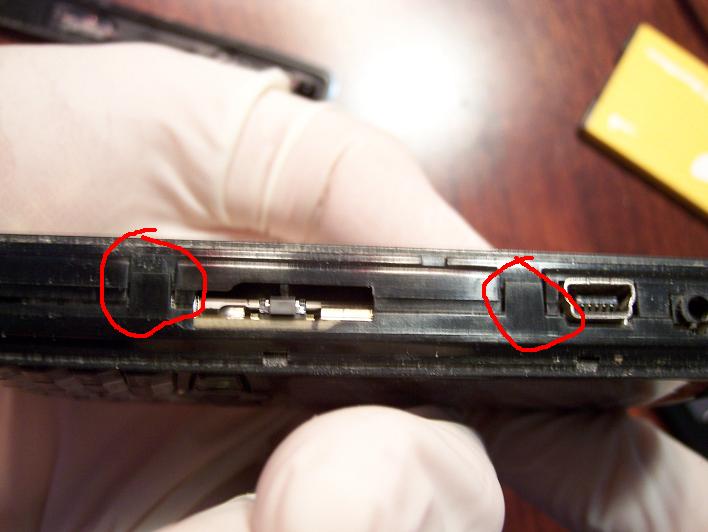
Next you will be removing the lowest portion of the body. It is below
the keyboard, between the silver side panels, and wraps from front to
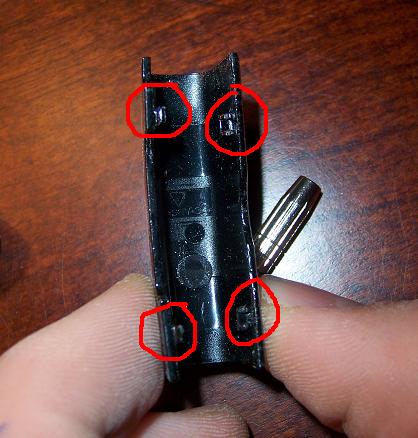
back. It's extremely tricky. There are four tabs (see pictures below):
2 on the front, 2 on the back. The 2 on the back are easily accessible,
the 2 on the front are not at all. What I found to be the easiest way
to do this was to pop the back 2 up with your fingernails, then push up
and around until it just pops off. If you find it easier, try using a
smallllll flat screwdriver to pop the front part up first (and leave it
there to hold it up), then the back ones, and slide it off.
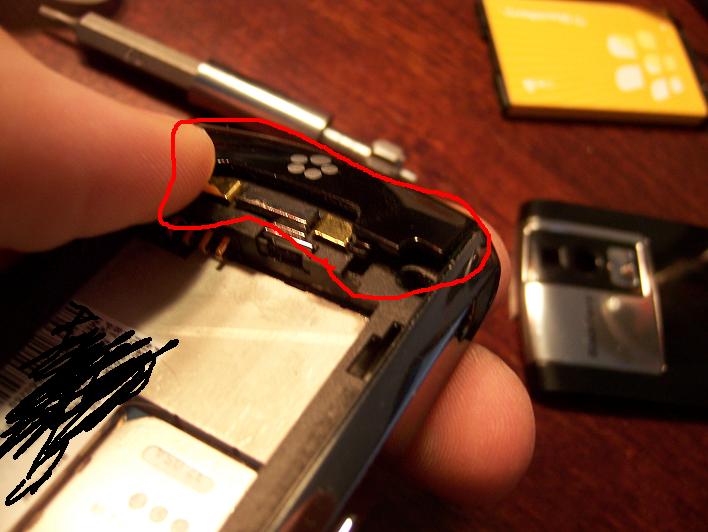
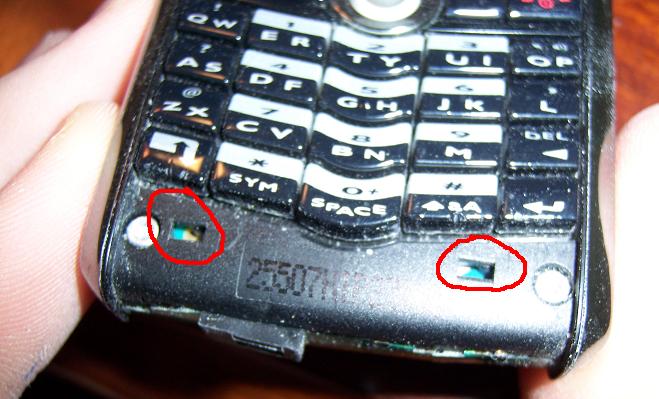
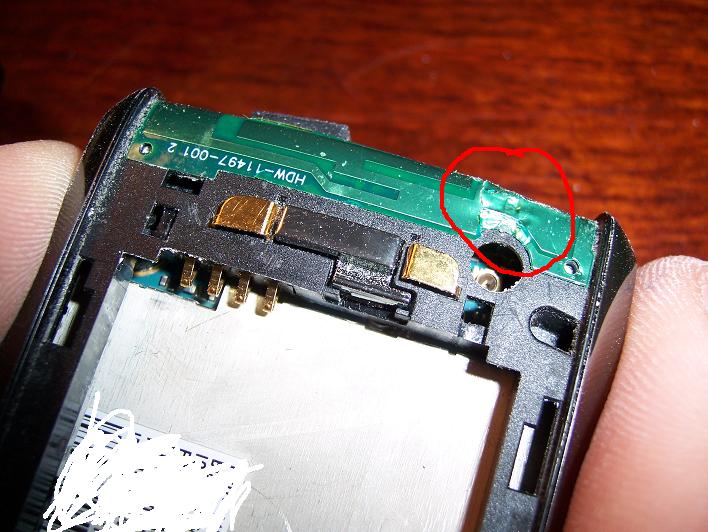
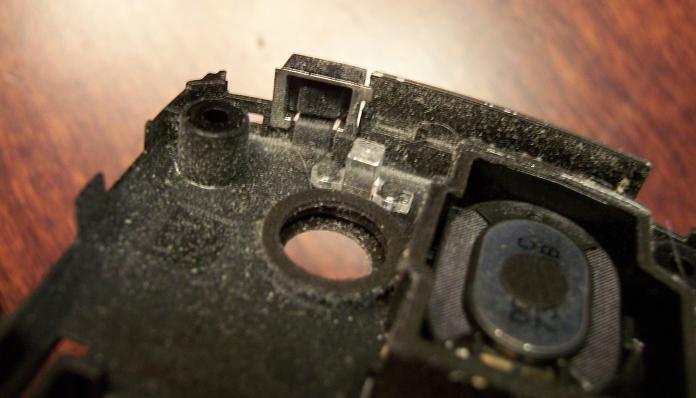
WARNING: DIRECTLY BENEATH THIS PORTION THAT YOU ARE
REMOVING IS THE ANTENNA. CHANCES ARE, THE PLASTIC WILL CATCH THE
ANTENNA AND DO WHAT IS PICTURED BELOW. Mine still works though, so i wouldn't be TOOOOO worried. just be aware of it. That green thing is the antenna.
[Step 5]
Remove all the screws. YOU MUST DO THIS BEFORE THE SIDES. They require
a T7 bit. (t=torx but when you're buying it, just ask for a T7. ). Be
careful, these screws absolutely suck and you will strip them before
you know it. Just take your time and push while turning.
[Step 6]
Remove the silver sides. You really only need your fingernail to do this after you've removed the screws.
[Step 7]
LOL at the skin and dust in your beautiful phone.

[Step 8]
To separate the two pieces, pop the 4 clips with your nail or something. They're very easy to get off.
Now you are free to do whatever you want with the insides and all that
jazz. I hope you all enjoy this, I stripped one of the screws and won't
be able to completely reassemble mine until I can find one that fits or
buy a replacement.
Tips: If you are planning on doing this again sometime, use regular
screws to put it back together (obviously same width and length so you
don't ruin anything).
NOTE: WEAR LATEX GLOVES IF YOU DONT WANT TO MUCK UP YOUR BEAUTIFUL SCREEN!
[Step 1]
Gaze adoringly at your Pearl.
[Step 2]
Remove the back cover
[Step 3]
Remove the battery
[Step 4]
Next you will be removing the lowest portion of the body. It is below
the keyboard, between the silver side panels, and wraps from front to
back. It's extremely tricky. There are four tabs (see pictures below):
2 on the front, 2 on the back. The 2 on the back are easily accessible,
the 2 on the front are not at all. What I found to be the easiest way
to do this was to pop the back 2 up with your fingernails, then push up
and around until it just pops off. If you find it easier, try using a
smallllll flat screwdriver to pop the front part up first (and leave it
there to hold it up), then the back ones, and slide it off.
WARNING: DIRECTLY BENEATH THIS PORTION THAT YOU ARE
REMOVING IS THE ANTENNA. CHANCES ARE, THE PLASTIC WILL CATCH THE
ANTENNA AND DO WHAT IS PICTURED BELOW. Mine still works though, so i wouldn't be TOOOOO worried. just be aware of it. That green thing is the antenna.
[Step 5]
Remove all the screws. YOU MUST DO THIS BEFORE THE SIDES. They require
a T7 bit. (t=torx but when you're buying it, just ask for a T7. ). Be
careful, these screws absolutely suck and you will strip them before
you know it. Just take your time and push while turning.
[Step 6]
Remove the silver sides. You really only need your fingernail to do this after you've removed the screws.
[Step 7]
LOL at the skin and dust in your beautiful phone.
[Step 8]
To separate the two pieces, pop the 4 clips with your nail or something. They're very easy to get off.
Now you are free to do whatever you want with the insides and all that
jazz. I hope you all enjoy this, I stripped one of the screws and won't
be able to completely reassemble mine until I can find one that fits or
buy a replacement.
Tips: If you are planning on doing this again sometime, use regular
screws to put it back together (obviously same width and length so you
don't ruin anything).

linekbp- VIP Moderator
- Number of posts : 248
Location : india
Warining :


Rate by Admin :
Reputation : 0
Registration date : 2007-11-30

Re: 8100 Disassembly photos and instructions - Updated
![]() by Admin Wed Jul 30, 2008 6:50 am
by Admin Wed Jul 30, 2008 6:50 am
nice, please keep it more up
Admin- Administrator
- Number of posts : 8137
Age : 50
Location : Sharqi Abadi Mustafabad Kasur
Job/hobbies : Do more for other
Mode (i.e. cool, angry etc) : Serious
Warining :
Rate by Admin :
Reputation : 22
Registration date : 2007-10-23 -

» E90 disassembly instructions most wanted
» themes for 8100
» blackberry 8100 red light on.
» HOW TO: Clean the Trackball on your Pearl 8100
» nokia 8100 black barry..
» themes for 8100
» blackberry 8100 red light on.
» HOW TO: Clean the Trackball on your Pearl 8100
» nokia 8100 black barry..
Page 1 of 1
Permissions in this forum:
You cannot reply to topics in this forum|
|
|